If you are a newly-launched RIA setting up your performance reporting tool for the very first time, or if you have acquired another firm and need to transfer and configure their data from their reporting tool into yours, we recommend this 7-point checklist. We have used this checklist with many of our RIA clients, across multiple performance reporting vendors.
Step 1 – Establish Custodial Feeds into Reporting Software
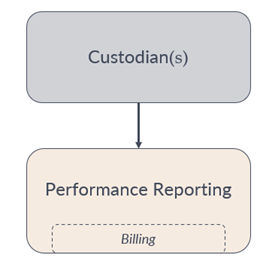
As you know from our RIA Infrastructure Schematic, dataflow across the RIA back office begins at the custodian. With accounts and assets residing at the custodian, you simply need to establish a data feed into your reporting software, and the accounts and positions will appear in the reporting tool.
Step 2 – Household Accounts
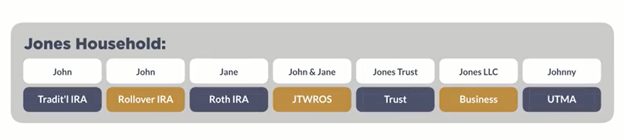
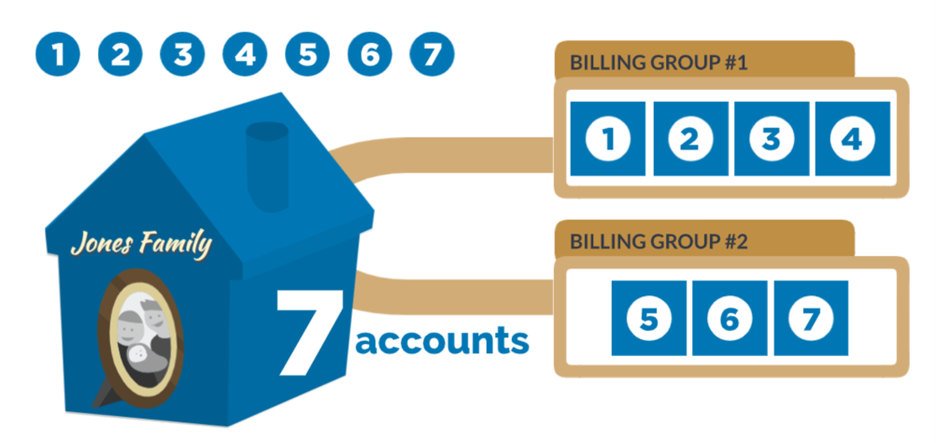
When the account/position/transaction data initially arrives in the reporting software, it is just raw data – it’s nothing more than 700, or 1,000, or even 2,000 account numbers. You will first want to group accounts by household – taking the Jones family’s 7 accounts and creating a Jones Household:
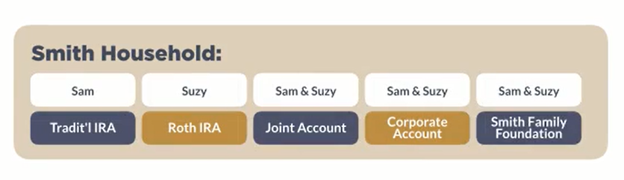
And you’ll want to group the Smith’s 5 accounts and create a Smith Household, etc.
Once you have established these households, you will want to create viewing groups for your advisors so they can view groupings of accounts from an investment management perspective. You’ll also want to create viewing groups for each client’s portal view, so your clients see accounts in the groupings they’re expecting when they log into the portal. It’s always a tricky situation when the parents or grandparents don’t want the kids or grandkids to see how much the family is worth, so you always need to be very careful with the grouping of accounts in the client portal and be very conscious of who can see what.
Step 3 – Classify Assets
The reporting software allows you to classify assets however you want; you can label Apple stock as Equity or Large Cap or Technology or Growth. When setting up your reporting software for the first time, you’ll need to classify every security in the database.
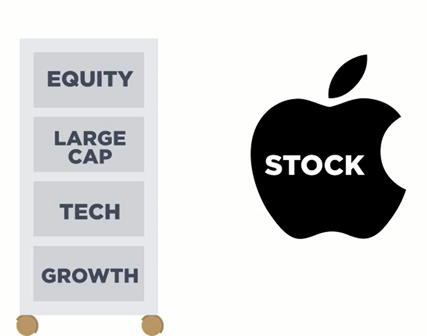
Most of the reporting vendors will let you automatically assign Morningstar classifications for all securities, and that may work for your firm, but know that these can be customized however you like. If you are absorbing another firm’s data into your database, your existing classifications will automatically apply to their assets when they flow into your reporting tool. You may need to work with the acquired firm to make sure you both agree on these classifications – they may want to refer to Apple stock as Technology, but you may already have it classified as Large Cap Equity, so you’ll need to work through that as part of your post-merger integration process.
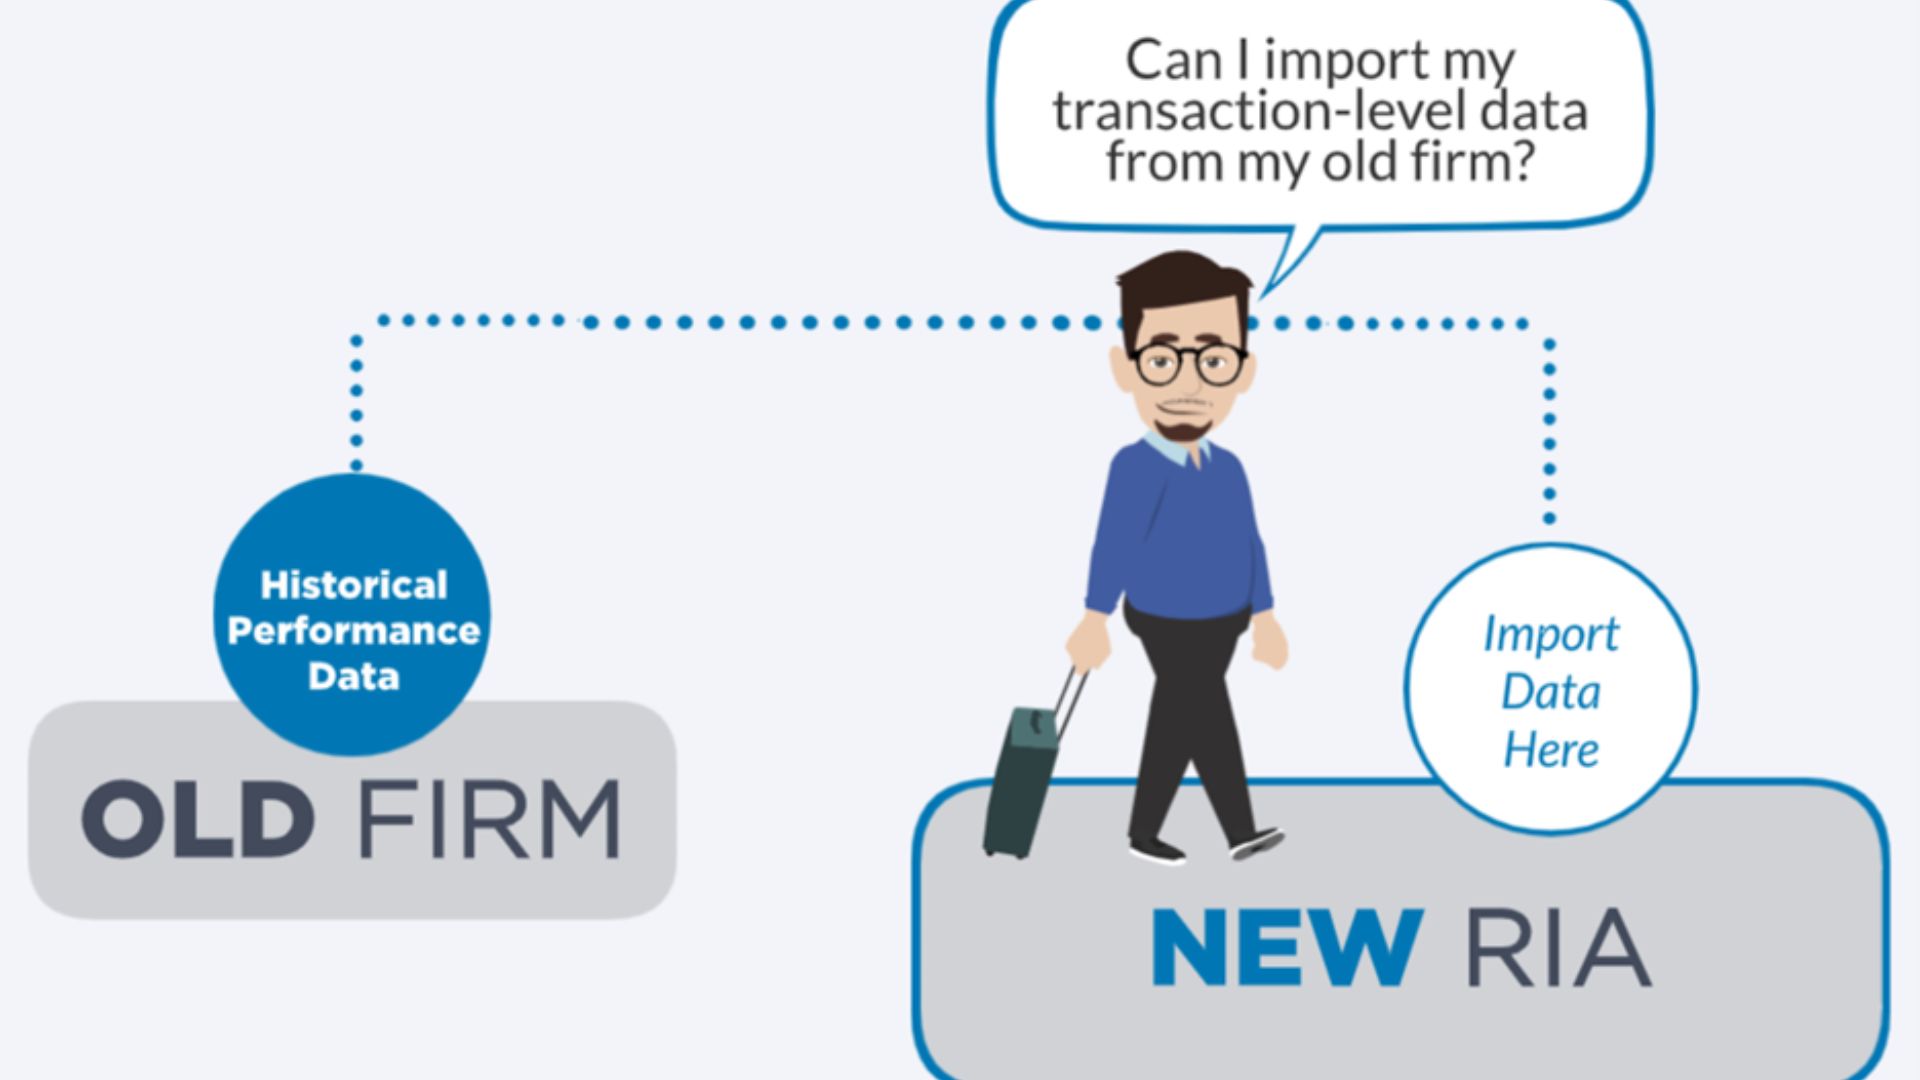
Step 4 – Import Historical Performance (if available)
If you have just launched your RIA, or if you have recently joined another firm, you may or may not have been allowed to bring historical performance with you from your previous employer. But assuming you do have historical data from another database, that will need to be imported into your new reporting software. You’ll need to work closely with your reporting vendor to determine if they can import transaction-level data, or if they will only allow monthly or quarterly intervals of historical performance.
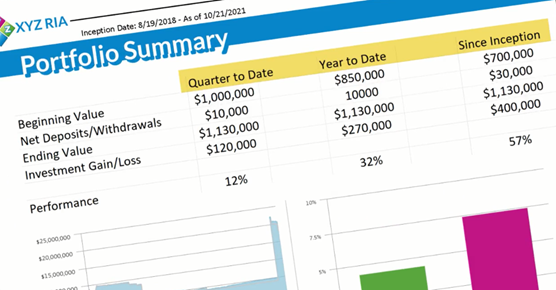
Step 5 – Design Static Quarterly Reports
Now that you have grouped accounts by household, you have classified all assets, and you have imported historical performance numbers, you can finally begin designing your static quarterly performance reports. This can be overwhelming for many RIAs, as reporting providers allow for heavy customization of reports. You’ll want to gather consensus across your firm as to what data should and should not appear on the standard performance report leveraged by your firm.
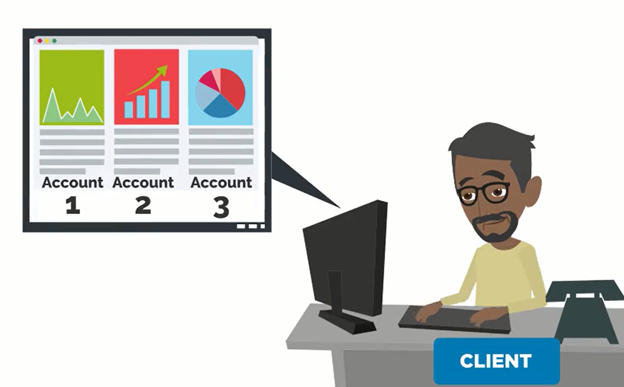
Step 6 – Invite Clients to Portal
With the static reports created, you can now begin to invite clients to the portal, where they can view those reports as a PDF, or they can see a live view of their assets. This is always a laborious task, importing every client’s email address, establishing passwords, etc. And, as mentioned above, special precautions need to be taken to ensure that the accounts you have linked together in the client portal are the accounts your client should be seeing.
Step 7 – Create Billing Groups
And lastly, don’t forget to get paid for all of this hard work! You will want to set up your billing groups and make sure, if you are using tiered billing, that you have grouped all accounts together to allow households to hit different tiers within your billing schedule.
We hope this checklist helps! Each of these steps is crucial, so be sure not to skip any of them. We’ve also found that proceeding through these steps in this exact order is the most efficient way to set up your performance reporting software.